By Bash Kaif
Updated on January 29, 2025
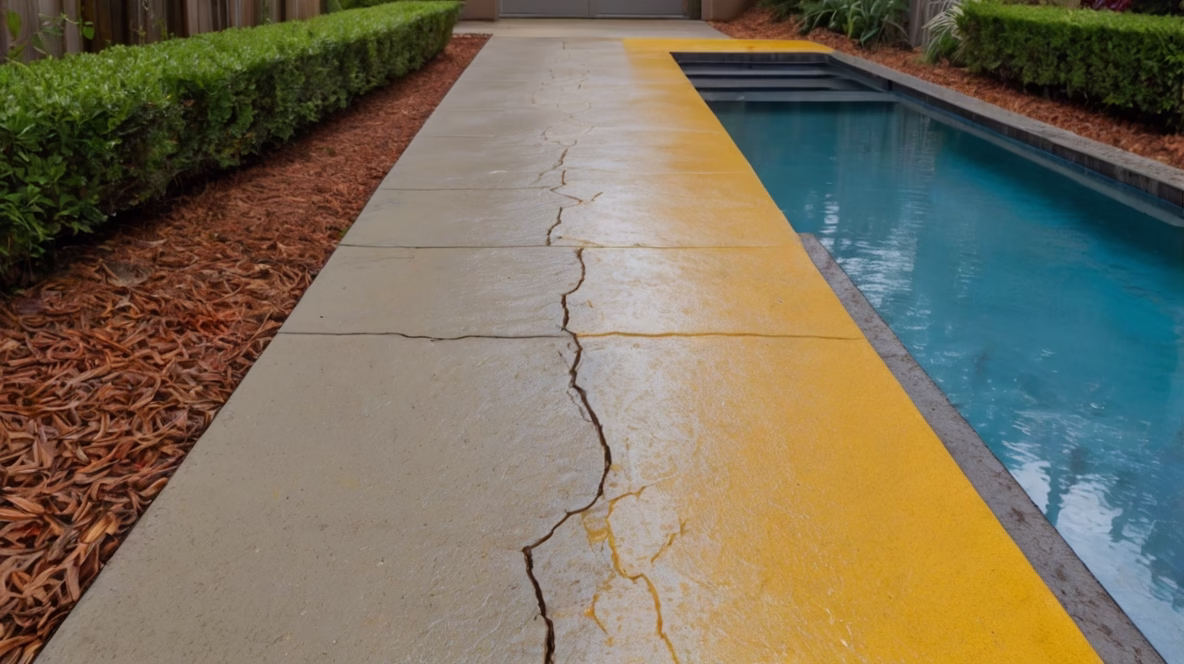
Hey, have you ever looked at that dull, cracked concrete walkway or porch and thought, “Ugh, this needs a glow-up”? I totally get it—those gray surfaces can drag down your home’s vibe. But guess what? Painting concrete is like giving it a fresh start, hiding those pesky cracks and stains while boosting curb appeal. It’s not just about slapping on some paint, though—it’s about doing it right so it lasts. Let’s walk through how to turn that tired concrete into a showstopper, step by step, like we’re chatting over coffee. Ready?
Project Snapshot
- Working Time: ~4 hours
- Total Time: ~5 days (including drying)
- Skill Level: Intermediate
- Estimated Cost: $35–$125
Concrete is tough and budget-friendly, but let’s be real—it can look blah. Whether it’s your front steps, a patio, or a basement floor, a coat of paint can work wonders. Those cracks and stains that scream “I’ve seen better days”? They’ll vanish under a sleek, colorful finish. But here’s the deal: prep is everything. A little effort upfront means your painted concrete will look amazing and hold up. Let’s dive in!
What You’ll Need
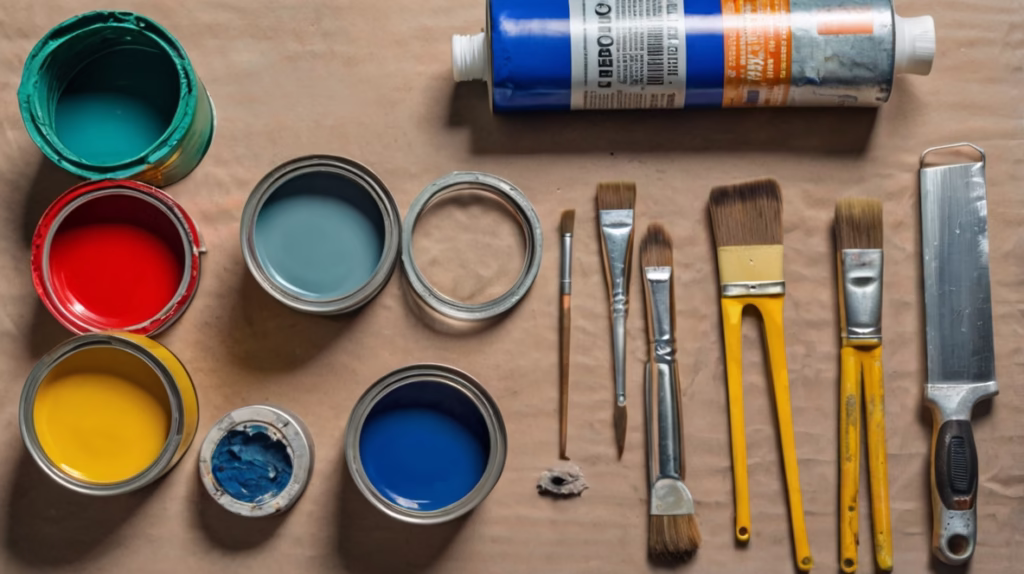
Tools
- Stiff-bristle brush
- Power washer (optional, but a game-changer)
- Putty knife
- Pole sander
- Vacuum (for indoor projects)
- Tack cloth (optional)
- Paintbrush or roller
- Protective gear (gloves, mask, goggles)
Materials
- Vinyl concrete patching compound
- Sandpaper
- Concrete cleaner, degreaser, and etcher
- Concrete sealing primer
- Painter’s tape
- Non-skid concrete paint
- Grit additive (if needed)
- Concrete sealer
Step-by-Step Guide to Painting Concrete
1. Get That Concrete Sparkling Clean
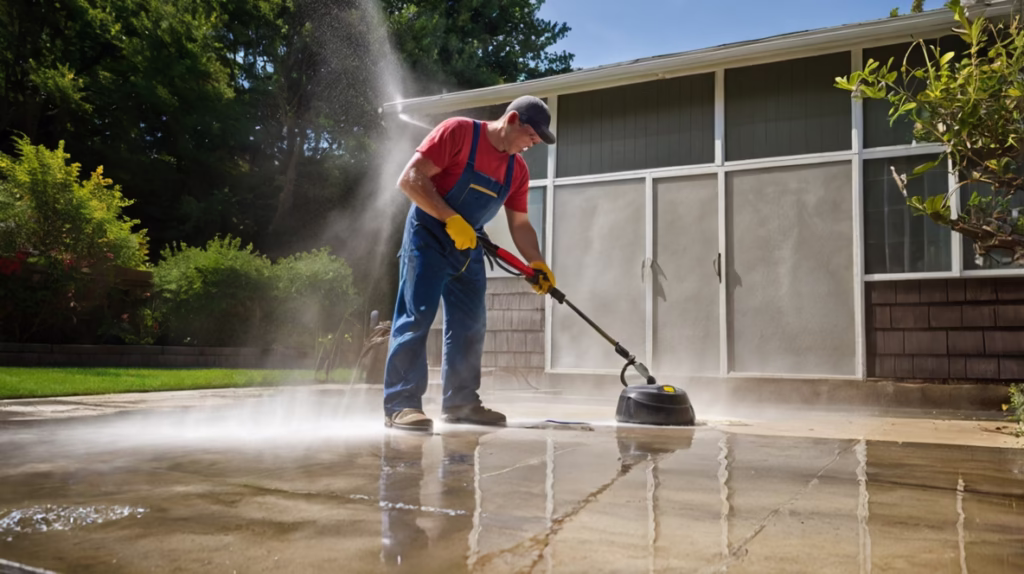
Okay, imagine this: your concrete is like a canvas, and it’s got to be spotless before you start painting. Grab a stiff-bristle brush and scrub away loose dirt, debris, or crumbling bits. If you’re tackling an outdoor surface like a walkway, yank out any weeds or moss hiding in the cracks—they’re sneaky! For a deeper clean, a power washer is your best friend; it blasts away grime like magic. Just make sure the concrete is bone-dry before moving on—it needs a full day to air out.
Pro Tip: If you’re painting an indoor floor or wall and see water damage, don’t just paint over it. That’s like putting a Band-Aid on a broken arm. Call a pro to check for underlying issues first.
2. Patch Up Cracks and Holes
Those cracks and holes? They’re not the end of the world, but they need some love. Use a putty knife to apply a vinyl concrete patching compound—think of it as spackling for your concrete. Follow the package instructions for application and curing time (usually a day or two). Don’t stress about perfection here; you’ll smooth things out in the next step. It’s like prepping a wall before painting—you’re setting the stage for a flawless finish.
3. Smooth It Out with Sanding

Now, let’s make that surface silky smooth. Grab some sandpaper and a pole sander to buff out rough spots or bumps. The pole sander’s a lifesaver for covering large areas without breaking your back. If you’re working indoors, vacuum up the sanding dust to keep things tidy, and don’t forget your protective gear—dust mask, goggles, and gloves are non-negotiable. A smooth surface means your paint will stick better and look polished.
4. Prep with Cleaner, Degreaser, and Etcher
This step’s like giving your concrete a spa day. Use a concrete cleaner, degreaser, and etcher (often sold as an all-in-one product) to prep the surface, following the manufacturer’s directions. These products rough up the concrete just enough for the paint to grip. If you used a power washer earlier, give it another quick rinse to clear away residue. Wear protective gear—those chemicals are no joke. I know it sounds like extra work, but trust me, this is what makes your paint job last.
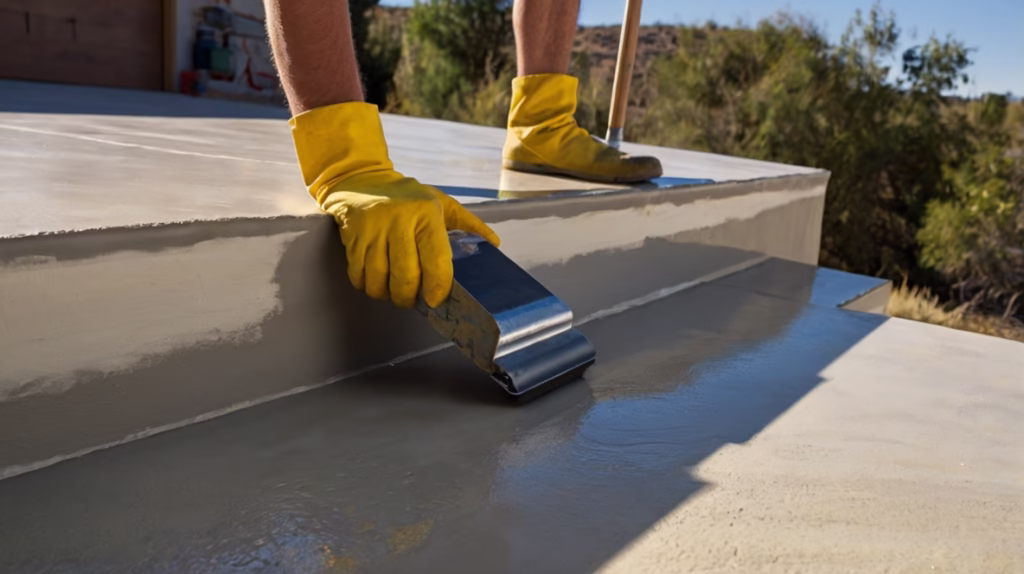
5. Prime and Paint Like a Pro
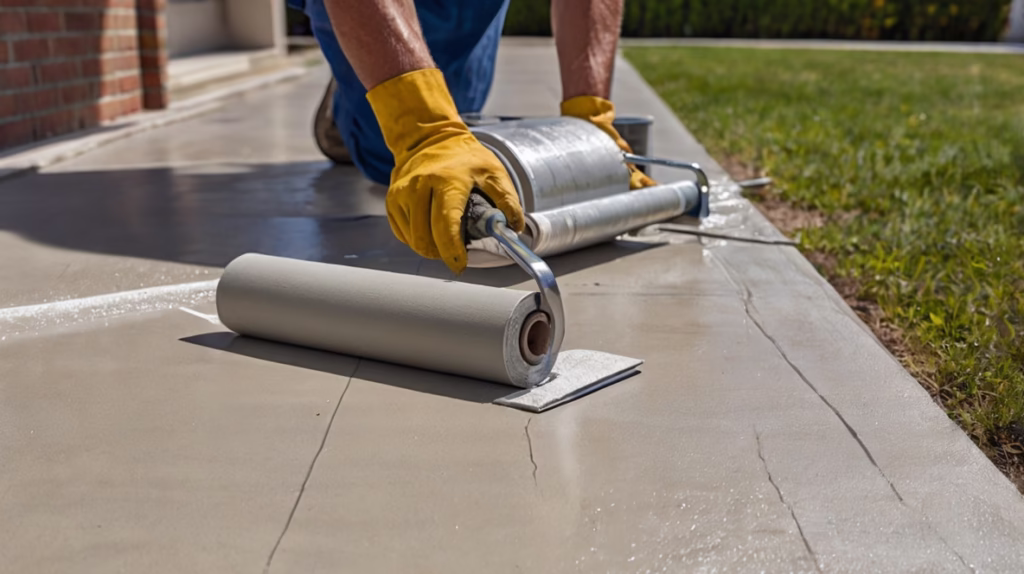
Here’s where the fun begins! Check the weather if you’re painting outdoors—pick a few dry days so the paint can cure properly. Start with a concrete sealing primer to cover any rust spots and seal the porous surface. Skipping this step is like trying to paint on a sponge—your paint won’t stick. Let the primer dry completely (check the can for timing).
Next, choose a non-skid concrete paint suited for indoor or outdoor use, depending on your project. If you’re painting near your house, use painter’s tape to protect siding or walls. Apply the paint with a brush or roller for a smooth, even finish. If your paint isn’t non-skid, add a second coat mixed with a grit additive for extra traction—perfect for steps or walkways. Oh, and if your concrete is brand-new, hold off painting for a month or two—fresh concrete needs time to cure.
6. Seal It for Long-Lasting Beauty
You’ve put in all this effort—don’t skip the sealer! A concrete sealer locks in your paint job, especially if you’ve gone all out with a cool design. Apply it according to the manufacturer’s instructions and let it cure fully (usually a couple of days). This step is like putting a protective shield over your masterpiece, keeping it vibrant and durable. You’ll be so proud every time you walk by!
Final Thoughts
Painting concrete is like giving your home a mini makeover—it hides flaws, adds personality, and makes your space pop. Whether it’s sprucing up a drab porch or transforming a basement floor, the key is in the prep: clean thoroughly, patch carefully, and prime properly. With these steps, your concrete will look fresh and inviting, earning you major curb appeal points. So, grab those brushes and let’s make that concrete shine!
Leave a Reply